In hindsight, 2015 was a pretty productive year! In sum, I restored 17 old and antique quilts for clients near and far, and re-homed a few antique beauties that I consider quintessential finds. I machine quilted 7 quilts— including three long-standing UFOs and a big brother/little brother quilt set for family. I rented time on two long arms— and the entire Hoot N’ Haller long arm studio for a weekend with my aunt— in an attempt to answer the ‘long arm question.’ Did I mention that I have a full time job teaching, advising, and doing partnership development in a small liberal arts college? More on my big win there below.
Machine Quilting & the Long Arm Question
Anyone who knows me personally also knows my Auntie Jan. I credit my craft to her life-long mentorship, which probably began with cross stitch or crochet in first grade. By the time I was a teenager, I would pack my dog, cockatiel, and parrot in the back of my Blazer (and later, my Cherokee) just to stay long weeks and sew while my friends went to shows and Fourth of July festivals. She taught me to sew clothes, helped me land my first job at the Stitching Post (at the time, the world’s largest Viking dealer), and then to piece and machine quilt— and is still responsible for probably half of my stash.
About 10 years ago, when my kiddos were quite young, our #1+ Viking machines began to be what Dr. Jay coined “high mileage.” Meaning, skipped stitches and general unpredictable behavior were common themes while machine quilting. And at that time, I was quilting Jan’s quilts and some of her friends’ quilts, which provided a small bit of income (and some intellectual direction) while I stayed home with my kids. So with Jan’s help, we brought home a sparkling new Bernina Virtuoso that hummed every time the needle kissed the bobbin and never skipped a stitch. The deal was that I would quilt all of Jan’s quilts, and keep the machine at my place. My, how I’ve failed that deal! A whole lot of living, a graduate degree, and a continually-unfolding career has resulted in a lot less time in my workshop than Auntie Jan spends in hers. So, as her quilts pile up I’ve become enchanted with the idea that a long arm may be the solution to my time crunch.
I’ve attended quilt shows and driven long arms for so long that I found it tough to drive my car back home— meandering is not for the highway. But quilting an entire quilt on one is another story altogether, and a humbling one at that. My first rental was at the wonderful Sharing Stitches studio in Xenia Ohio, where the top floor of a cape cod is converted in a long-arm quilting room. This was the perfect first-time long arm experience— Sharri was available every step of the way and was absolutely instrumental in learning how to frame a top, choose designs, and consider things from a different perspective. However, I found I simply couldn’t make the APQS Millennium do anything I wanted it do! After some 20 years of machine quilting, I couldn’t make a single pebble, nor curve, nor feather. It was as if I was quilting for the very first time.
Luckily, Sharri said that this is pretty normal. She put me on grooved wooden pantograph boards for one of my aunt’s quilts (the 2014-15 mystery quilt from Bonnie Hunter) which turned out lovely, but I didn’t appreciate the process of staring at a pantograph and operating the machine from behind. So I attempted to free motion the margins on the first of a big brother/little brother quilt set, which proved I wasn’t going to find my groove during the allotted time. Sharri recommended a repeating square pattern that only utilized the x-y axis of the machine’s frame— no circles! The quilts turned out cute, and I finished two perfectly textured tops in one morning. (Which was amazing.)
My next rental was at the new Hoot & Haller Studio in Yellow Springs, a lovely new sewing studio with multiple Janome work stations and a new Handi Quilter Avante. I found it easy to make circles on this machine, so much that it was almost loosey-goosey. It would take a large investment of time to get to my skill level, but it surely seemed possible. In one single weekend, I finished one of my aunt’s quilts (the shimmer quilt) and two UFOs (a Moda cowboy precut I sewed with my daughter when she was 8, and a cottage floral my aunt made for my older daughter). Since large, overall swirls that go from edge to edge aren’t really my favorite style of quilting, I also finished my aunt’s Kaffe Fassett dottie block at home on my Bernina (as pebbles were still out of my reach on the Avante).
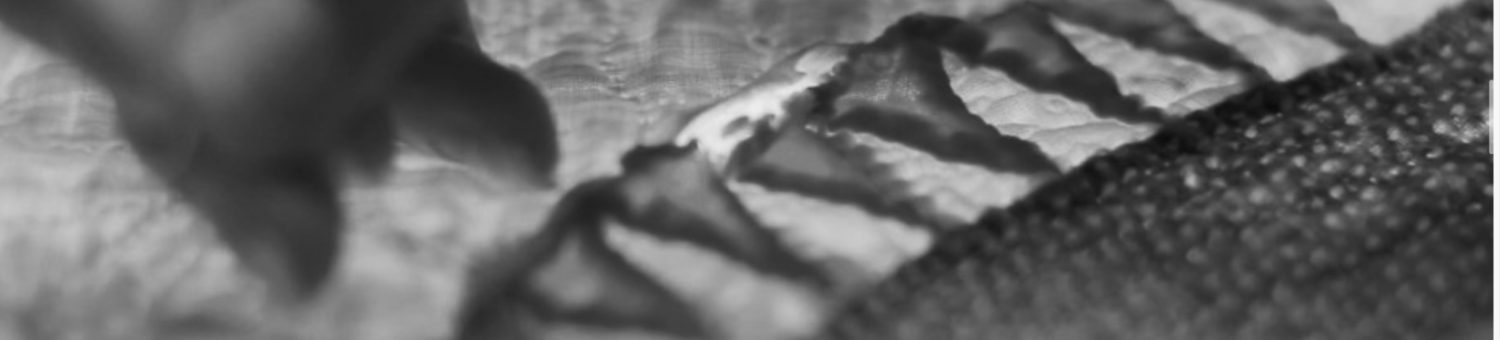
The real rub came from a black and white modern number of my aunt’s making. Since we tend to switch thread to match the top fabric, the white and black sections of the quilt top proved to be a major problem, as they extended beyond the quilt-able depth of the Avante’s 18″ frame. And the pattern did not lend itself to a way to skip around one block, to another of the same or a similar color. With my quilting skills so diminished on the new tool, the complications of quilting this particular quilt left me feeling like quilting on a frame with a long arm isn’t perhaps what I want to invest in at this time. But, it was fantastic to get three of my aunt’s quilts, two of my UFOs, and two gift quilts completed in a fraction of the time on long arms through rentals— I highly recommend both of these long arm machine studios to anyone in the Dayton area. (And did you know that you can attach binding right on the frame with the long arm?! Brilliant.)

The lovely Hoot n’Haller studio!

Quilting at Sharing Stitches studio.
For now, I’ll stick to quilting on my tiny domestic, but I’ll get my hands on sit down machines like the Sunshine by Pennywinkle and the new Bernina this year. Since most of my work is tiny stipples, pebbles, and swirls, I’ll be fine— though I don’t enjoy pinning on the floor, and wish I could justify the frame so as to bust into ruler work!
Drafting in the Studio
I’ve adopted a family drafting table, which has totally changed my studio and holds a lot of promise for drafting new designs with the swing arm and ruler sets. My hope is to be able to recreate some of my favorite antique quilts in a quirky, hand-drafted line of patterns called— yep, you guessed it— This Old Quilt. (The drafting table has become a huge asset to my sewing room— look at that adjustable surface and the storage drawers! And Merry Christmas to me with the new cutting boards! The best part is, on occasion, I get a faint whiff of small machine oil like I’m back in grandpa’s shop.)
In 2016 I hope to package three patterns for market. The first is a New York Beauty or Rail Through the Mountains, patterned off a lovely c.1860 quilt that is simply the greatest quilt I’ve ever had the pleasure to know. (Yes, I love the New York Beauty that much, then a bit more.) The second will be an interpretation of a pattern historically named Ladies Art Company Pineapple #2. It’s an original, quirky, and upbeat design that is first pieced, then appliquéd. I’ve only had the pleasure to hold and repair a single version. The third pattern of the year may be a princess feather, or maybe I will kick off my fascination with mid to late 19th century eagle quilts— leading to a series which wrestles with, and attempts to reclaim, some patriotic iconography.
Old Quilts with New Homes
By far the two most favorite quilts in my collection found new homes this year. The first pictured was a very large New England four post Star of Bethlehem with the brightest, most vibrant turkey reds, poison greens, yellow, and cheddar you ever did see. It was in excellent condition, with only the slightest of deterioration in a some red tips. The second pictured is the Rail through the Mountains or New York Beauty that I’m currently patterning in Moda Solids. The turkey red and poison green were perfectly set off by tiny saw tooth points— and I’m aiming to retain their quirk in my hand-drafted foundation pieced pattern. Before it shipped out, I grabbed a little video as I reset some open seams. (Note to self— when you run to town for the kids in the midst of a video shoot, the lighting will change and post production attempts to rectify will be… curious.)
Phenomenological Oral History, Aesthetics, Material Culture
This has been a huge year for my work in oral history and digital humanities. As a full-time faculty member in a small liberal arts college, I teach journalistic and professional writing while structuring undergraduate experiences that utilize oral history and digital storytelling as methods that get students out of the classroom, and into the community. (Sometimes, I’m so lucky that my students create quilts as final projects, such as in the water shed quilt below for Water Global Seminar.)
Much of my time is spent interacting with bright undergraduates who are seeking to partner with companies, organizations and researchers/makers to spend three months in a full-time co-op (or internship). That means I’m the one on the phone building those partnerships. (Need an intern?) I also travel a good bit— both for conferences and partnership development.
This past year I’ve been huddled with a team of folks from seven other colleges, building a major three-year project that aims to establish the pedagogical and technological supports faculty need to conduct, curate, and publish interview-based research in small liberal arts colleges. We were just funded before the holidays! Press will come together early this month.
As director, I’m responsible for facilitating the whole initiative, but it will also support my research over the next three years. That means I’ll be conducting an interview-based research project that explores the ways we invest meaning and memory into things like quilts, and what happens when we tokenize quilts by removing them from ‘everyday use’ (Alice Walker). I’m interested in conservation cultures, and what we mean when we ‘save’ a quilt (looking to Heidegger’s ideas). I’m also terribly committed to the promise of oral history— that new and better ways of thinking about things can come from sharing our stories and learning to listen deeply.
In the first stage, I’m working with Jenneken Smucker and the Quilt Alliance team to thematize and publish interviews from the Quilters SOS project, which are stored in the Library of Congress and are available as transcripts (in many cases) on the Quilt Alliance web site. I’ll be indexing these interviews in the Oral History Metadata Synchronizer, so that listeners can search the transcripts while listening to the audio interviews on the alliance’s web site. After working through the archives, my own interviews will commence.
Throughout 2016, I’d love to be in conversation with other philosopher-makers interested in piecing together their more academic ideas on quilting, conservation studies, flow, and value!
Let 2016 be about New Work!
I’m ready to carve out studio time for myself, for new quilts that float my fancy, and quilts that my family can trample and spill juice on during movie night– despite their ridiculously intricate design. (Ha. The last such quilt I made took 8 years, but a girl can dream.) So I’m not taking on any new machine quilting work this year, nor any commissions. (I will still do repairs and restoration of old and antique quilts, as the time commitment isn’t as great and I’m fascinated by the process each and every time.)
While patterning and piecing the Beauty and Pineapple No. 2 will take up much of my time, I’ve planned to make a La Passacaglia quilt from the couch on those evenings where I want to cuddle with family instead of sit at a machine. I received the templates and papers for Christmas, and just bought a glue pen! Having never pieced a quilt by hand, this should be an interesting experience. I’ll keep you posted!
– Brooke